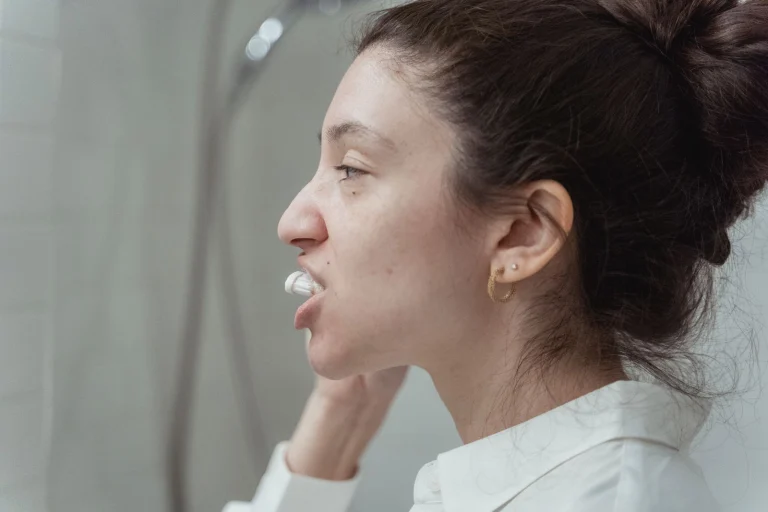
A winning strategy for catching oral cancer early has three parts: know what your mouth normally looks and feels like, check it yourself regularly so you notice anything new, and have a professional oral cancer screening once a year. A self-check takes only a few minutes with a mirror and good light. It can’t replace a professional screening, and finding something unusual doesn’t mean you have cancer, but it helps you spot changes sooner and get them evaluated promptly.
This guide walks you through a simple self-check step by step, explains what is normal and what isn’t, and describes what to do if something catches your eye. It also covers how the Timonium office of Dr. Steven W. Haywood, DDS screens for oral cancer at your checkup.
Why a strategy beats luck
Oral cancer is a serious, life-threatening condition, and early diagnosis increases the likelihood of more successful treatment. The trouble is that early changes are often painless and can sit in places you don’t usually look, such as under the tongue or at the back of the mouth. A deliberate routine means you are looking on purpose, not just hoping to notice.
The strategy works because each part covers a gap in the others:
- Knowing your normal gives you something to compare against.
- Regular self-checks catch changes that appear between dental visits.
- A yearly professional screening uses a trained eye and tools such as ViziLite to find changes you can’t see yourself.
What you need
- A well-lit bathroom mirror, or a small hand mirror
- A flashlight or your phone’s light
- A piece of clean gauze or a tissue to hold your tongue
- Clean hands
If you wear a removable denture or partial, take it out first so you can see the tissue underneath.
Your oral cancer self-check, step by step
1. Look at your face and neck
Face the mirror and look for any swelling, lumps or differences between the left and right sides of your face, jaw and neck.
2. Feel your neck and jaw
Using your fingertips, gently press along the sides and front of your neck and under your jaw. Note any lump, swelling or tender spot that is new.
3. Check your lips
Look at the outside of your lips for sores, crusting or color changes. Then pull your lower lip down and your upper lip up to look at the inside surfaces and the gums in front. Feel the lips between your thumb and finger for lumps.
4. Check your cheeks
Pull each cheek out gently and look at the inside lining, all the way back. Look for red or white patches, sores or rough spots, and feel the cheek between your fingers for lumps or thickening.
5. Check your gums
Look along your gums on the outside and inside of your teeth, top and bottom. Bleeding, puffy gums are more often a sign of gum disease, but any unusual patch, sore or lump should be noted.
6. Check the roof of your mouth
Tilt your head back, open wide and shine the light on the roof of your mouth. Look for color changes and sores, and gently feel for lumps.
7. Check your tongue
Stick your tongue out and look at the top. Then hold the tip with gauze and gently pull it to one side, then the other, to see the sides. Lift your tongue to the roof of your mouth to see the underside. The sides and underside of the tongue are important places to check.
8. Check the floor of your mouth
With your tongue still lifted, look at the floor of your mouth beneath it. Then place one finger under your tongue and gently press against a finger under your chin to feel for lumps.
9. Look toward your throat
Press your tongue down, say “ahh” and look as far back as you can. You won’t see everything, which is one reason professional screening matters.
What is usually normal
When you look closely for the first time, you may notice things that are simply part of normal anatomy. Everyone’s mouth is a little different, so if you’re unsure, ask at your next visit rather than worrying.
- Small bumps across the top of the tongue, including larger ones near the very back
- Veins visible on the underside of the tongue
- A slight line on the inside of the cheeks where the teeth meet
- A firm, smooth bony bump in the middle of the roof of the mouth or along the inside of the lower jaw that has always been there
The key word is “change.” Something you have always had and that hasn’t changed is less concerning than something new.
What to watch for
- A sore or ulcer that doesn’t heal or keeps coming back in the same spot
- A white patch, a red patch, or a patch that is both
- A lump, thickening or rough spot
- Bleeding, numbness or pain without a clear cause
- Trouble chewing, swallowing or moving your tongue or jaw
- A persistent sore throat or hoarseness
For more detail on each, read oral cancer signs and symptoms.
If you find something
- Don’t panic. Most changes turn out to be from a bite, a burn, a canker sore, irritation or infection.
- Note it. Write down where it is, what it looks like and when you first noticed it. A photo can help.
- Don’t wait for your next routine visit. If anything in your mouth concerns you, call the office and the team can schedule a screening.
For what happens when an area needs a closer look, read peace of mind after an oral cancer screening.
The other half of the strategy: habits and yearly screening
Lower the risks you can
Alcohol, infection, the HPV virus and smoking have all been implicated in the onset of oral cancer. Avoiding tobacco, limiting alcohol and protecting your lips from the sun are sensible steps. Read oral cancer risk factors you can and can’t control.
Have a professional screening every year
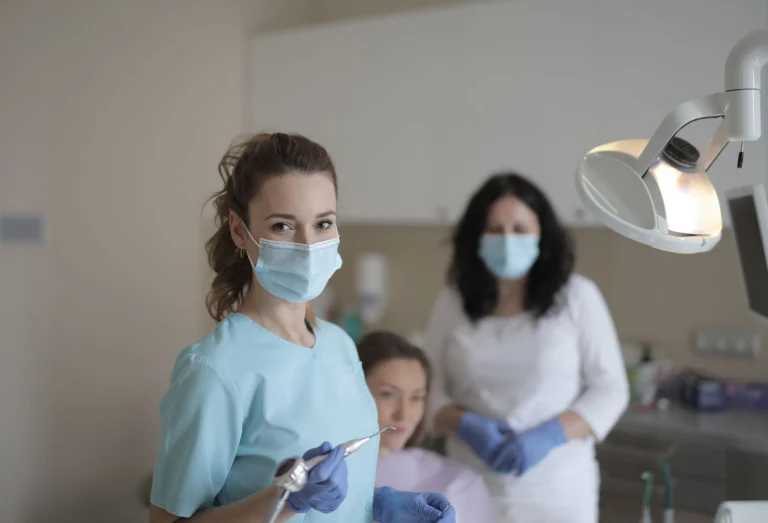
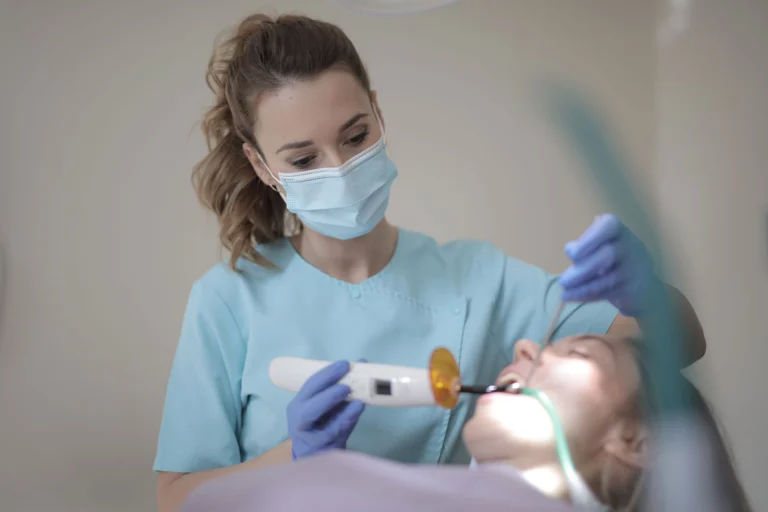
The practice recommends that all patients over eighteen be screened once a year, and regular screenings are especially important for anyone over 40, anyone who smokes and anyone with a family history of cancer. At Dr. Haywood’s office, the screening is part of your regular checkup:
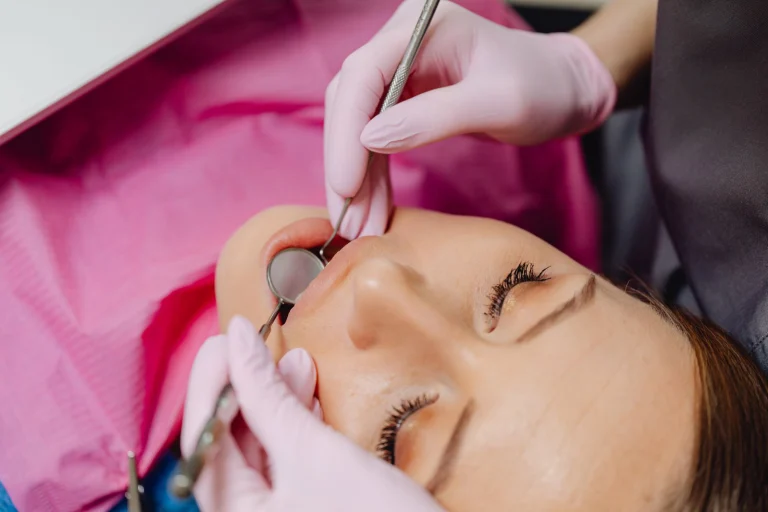
- It is quick and pain-free and checks the soft tissues of your mouth, throat and tongue.
- ViziLite, a screening tool used to identify abnormal cells, can detect signs of oral cancer in as little as ten minutes.
- If an area needs more attention, t-blue staining and Oral CDX cellular analysis are available right in the office.
- Dr. Haywood explains what the findings mean and discusses your next steps with you.
For a step-by-step look at the appointment, read what happens during an oral cancer screening.
Paying for your screening
The practice is out of network with all dental insurance providers. You pay at the time of your visit, and the office files the claim on your behalf so your plan can reimburse you for whatever it covers. Health savings and flex plans are welcome, and financing is available through CareCredit, with no-interest options for up to 12 months, and Cherry, with plans from 3 to 24 months. See financing options.
Frequently asked questions
How often should I check my mouth for oral cancer?
Choose a regular routine you will actually keep, and check more closely any time you notice something unusual. Consistency matters more than any particular schedule, because it helps you learn what is normal for you.
Can a self-exam replace a dental screening?
No. A self-check helps you notice changes between visits, but it can’t see the whole mouth and throat or use screening tools. A professional screening once a year is still recommended.
I found a bump I’ve never noticed. Is it cancer?
Probably not, since many bumps are normal anatomy or minor irritation. But you can’t tell by looking, so if it is new or you’re unsure, call the office and have it checked.
Does an oral cancer screening at the dentist hurt?
No. The screening is quick and pain-free and is done during your regular checkup.
Make screening part of your strategy in Timonium
A self-check at home and a yearly screening in the office make a strong team. Request an appointment or call (410) 453-9399. The office of Dr. Steven W. Haywood, DDS is at 108 W Timonium Rd, Ste 200, Timonium, MD 21093, serving Timonium, Towson, Pikesville, Baltimore and the surrounding communities. Learn more about oral cancer screening in Timonium.
Ready to see your future smile?
Found something new in your mouth, or due for a screening? Book a visit in Timonium.